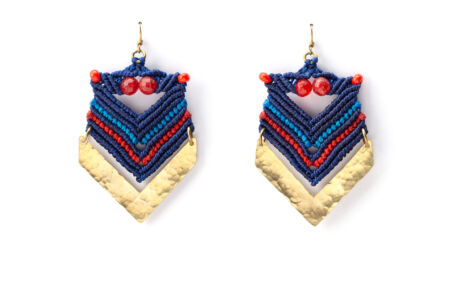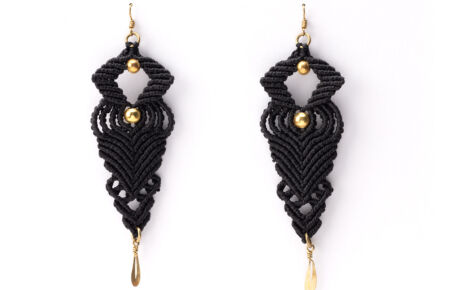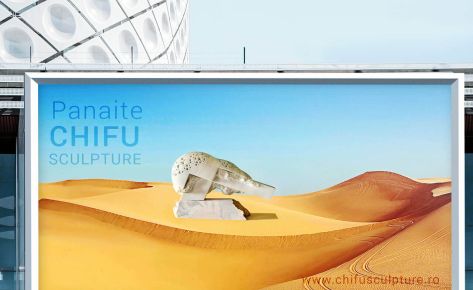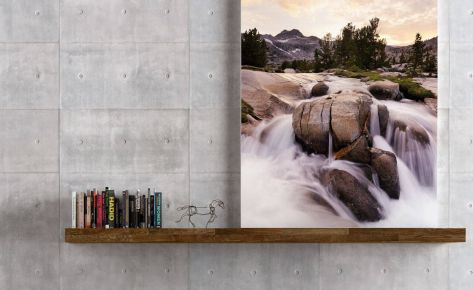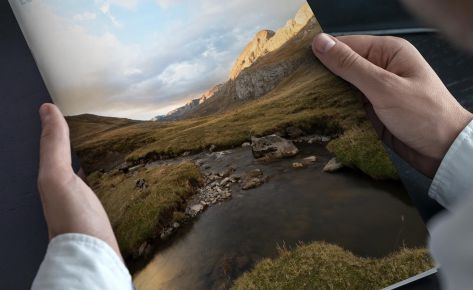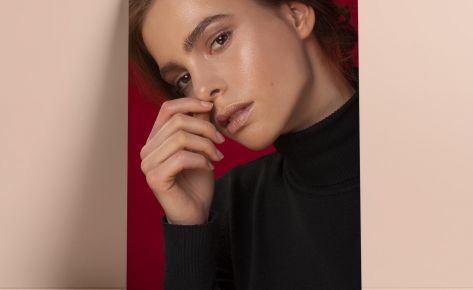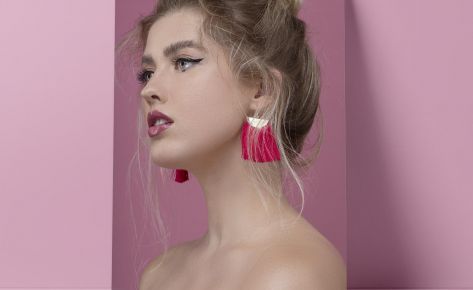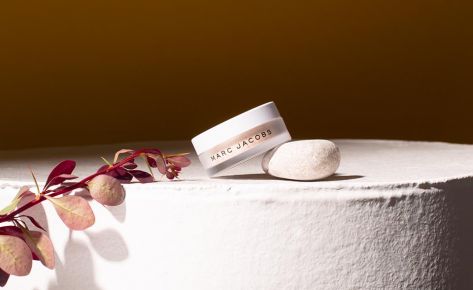
The goal was to adjust the jewelry, enhance it, modify the background color, and ensure that it could be resized to match almost any aspect ratio.
I adjusted the profiles and chromatic aberration in Lightroom before exporting the image to Photoshop.
After removing blemishes and other imperfections, I utilized curves and masks to accentuate the metal and texture highlights.
I created a seamless backdrop with color, texture
using the frequency and separation approach.
I used hue/saturation to adjust the background in the initial step, then layers and masks with color ranges were used for the fringing.
The last steps were color correcting, sharpening using multiple depths on various areas, cropping, and exporting.
Skills used

The goal was to adjust the jewelry, enhance it, modify the background color, and ensure that it could be resized to match almost any aspect ratio.
I adjusted the profiles and chromatic aberration in Lightroom before exporting the image to Photoshop..
After removing blemishes and other imperfections, I utilized curves and masks to accentuate the metal and texture highlights.
I created a seamless backdrop with color and texture using the frequency and separation approach.
I used hue/saturation to adjust the background in the initial step, then layers and masks with color ranges were used for the fringing.
The last steps were color correcting, sharpening using multiple depths on various areas, cropping, and exporting.
Skills used

The goal was to adjust the jewelry, enhance it, modify the background color, and ensure that it could be resized to match almost any aspect ratio.
I adjusted the profiles and chromatic aberration in Lightroom before exporting the image to Photoshop.
After removing blemishes and other imperfections, I utilized curves and masks to accentuate the metal and texture highlights.
I created a seamless backdrop with color, texture
using the frequency and separation approach.
I used hue/saturation to adjust the background in the initial step, then layers and masks with color ranges were used for the fringing.
The last steps were color correcting, sharpening using multiple depths on various areas, cropping, and exporting.
Skills used
get in touch
Before & After


