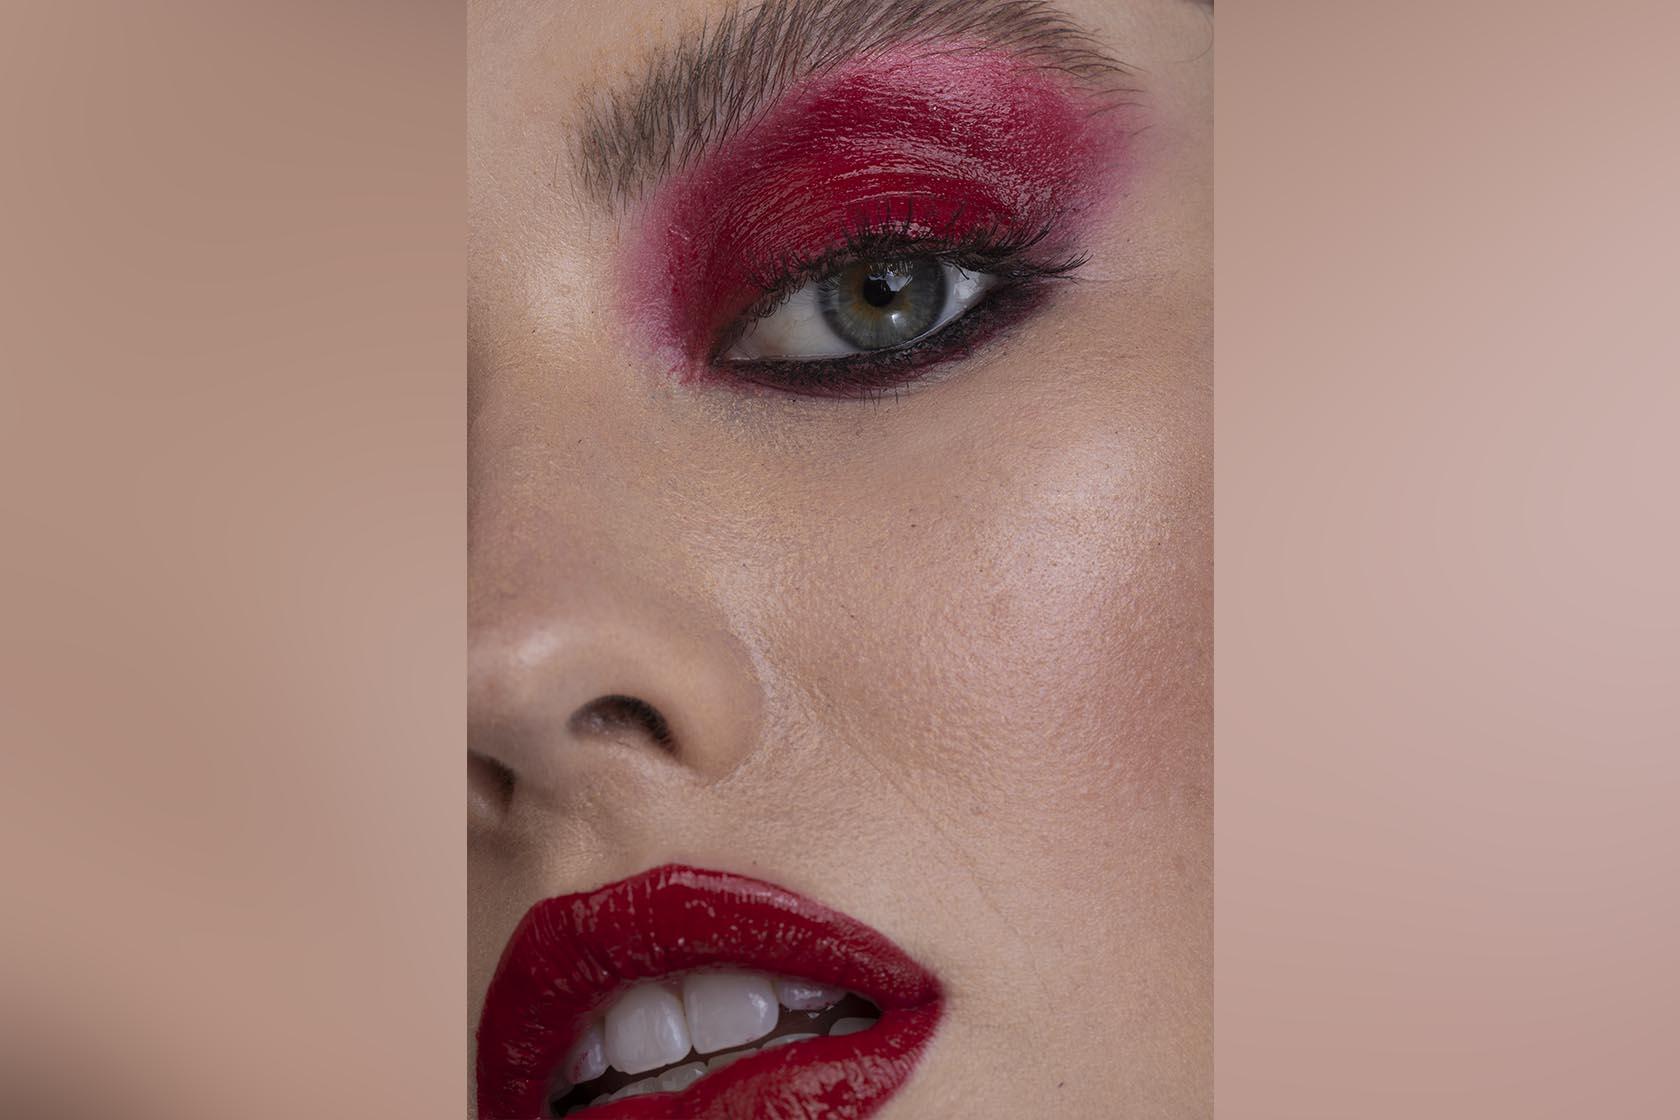
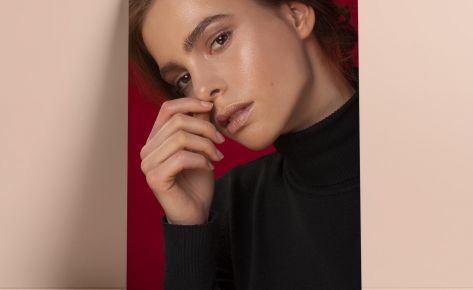
The objective was to enhance the appearance of the portrait through retouching.
To achieve this, a multi-step process was followed.
Initially, adjustments were made to the profiles and chromatic aberration in Lightroom to ensure accurate color representation. Once the necessary adjustments were made, the image was exported to Photoshop.
In Photoshop, two key tools were utilized: the clone stamp tool and the healing brush. By carefully selecting and blending areas of the image, a smoother and more flawless appearance was achieved.
After the blemishes were removed, the next step involved utilizing curves and masks to enhance the overall quality of the image.
This allowed for adjustments in contrast, brightness, and color tones to further refine the portrait’s appearance.
To address any remaining imperfections, I utilized frequency and separation.
This technique involves separating the image into different frequency ranges and then applying targeted adjustments to correct any remaining flaws.
The dodge and burn technique was also employed to balance out the light and shadows in the image, resulting in a more balanced and visually pleasing composition.
In the final stages of the retouching process, color correction was performed to ensure accurate and pleasing color reproduction.
Various areas of the image were sharpened using multiple depths to enhance details selectively.
Additionally, cropping was done to refine the composition and eliminate any unnecessary elements.
Finally, the retouched portrait was exported in the desired format for further use or display.
Skills used
The objective was to enhance the appearance of the portrait through retouching.
To achieve this, a multi-step process was followed.
Initially, adjustments were made to the profiles and chromatic aberration in Lightroom to ensure accurate color representation. Once the necessary adjustments were made, the image was exported to Photoshop.
In Photoshop, two key tools were utilized: the clone stamp tool and the healing brush. By carefully selecting and blending areas of the image, a smoother and more flawless appearance was achieved.
After the blemishes were removed, the next step involved utilizing curves and masks to enhance the overall quality of the image.
This allowed for adjustments in contrast, brightness, and color tones to further refine the portrait’s appearance.
To address any remaining imperfections, I utilized frequency and separation. This technique involves separating the image into different frequency ranges and then applying targeted adjustments to correct any remaining flaws.
The dodge and burn technique was also employed to balance out the light and shadows in the image, resulting in a more balanced and visually pleasing composition.
In the final stages of the retouching process, color correction was performed to ensure accurate and pleasing color reproduction.
Various areas of the image were sharpened using multiple depths to enhance details selectively.
Additionally, cropping was done to refine the composition and eliminate any unnecessary elements.
Finally, the retouched portrait was exported in the desired format for further use or display.
Skills used
Initially, adjustments were made to the profiles and chromatic aberration in Lightroom to ensure accurate color representation. Once the necessary adjustments were made, the image was exported to Photoshop.
In Photoshop, two key tools were utilized: the clone stamp tool and the healing brush. By carefully selecting and blending areas of the image, a smoother and more flawless appearance was achieved.
After the blemishes were removed, the next step involved utilizing curves and masks to enhance the overall quality of the image.
This allowed for adjustments in contrast, brightness, and color tones to further refine the portrait’s appearance.
To address any remaining imperfections, I utilized frequency and separation.
This technique involves separating the image into different frequency ranges and then applying targeted adjustments to correct any remaining flaws.
The dodge and burn technique was also employed to balance out the light and shadows in the image, resulting in a more balanced and visually pleasing composition.
In the final stages of the retouching process, color correction was performed to ensure accurate and pleasing color reproduction.
Various areas of the image were sharpened using multiple depths to enhance details selectively.
Additionally, cropping was done to refine the composition and eliminate any unnecessary elements.
Finally, the retouched portrait was exported in the desired format for further use or display.
Skills used
get in touch
Before & After
