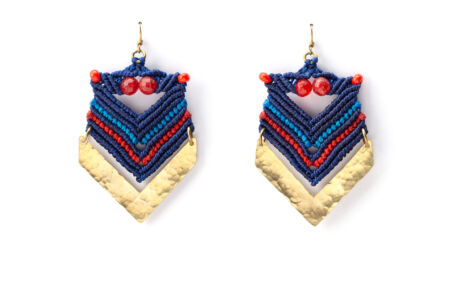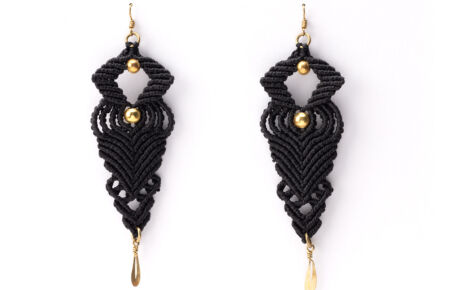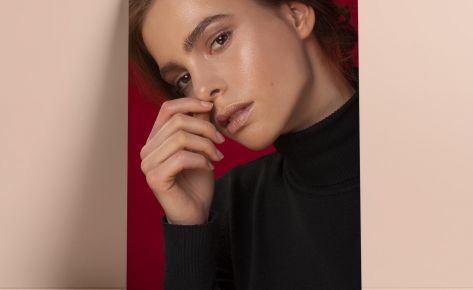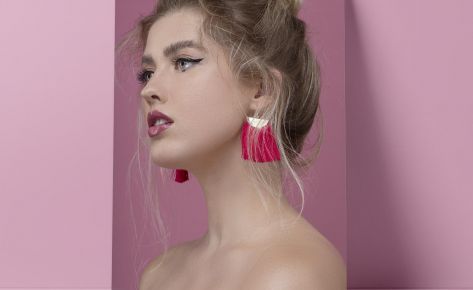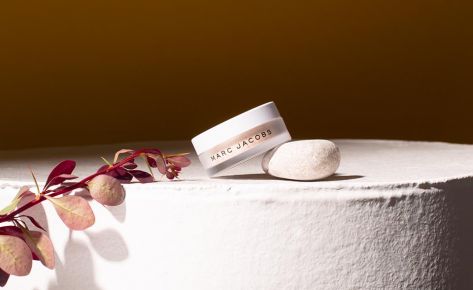
The goal was to adjust the jewelry, enhance it, modify the background color, and ensure that it could be resized to match almost any aspect ratio.
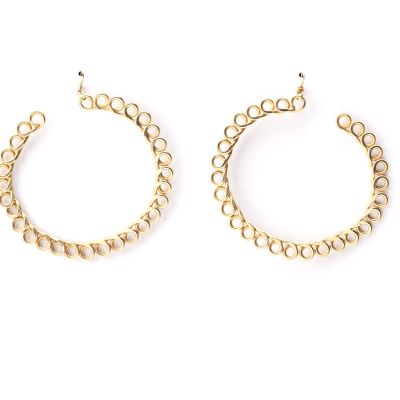
The goal was to put jewelry on a pure white background and to make sure that it could be resized to match almost any aspect ratio.
I adjusted the white balance with gray cards, profiles and chromatic aberration in Lightroom before exporting the image to Photoshop.
After removing blemishes and other imperfections
I utilized curves and masks to accentuate the metal and texture highlights.
The last steps were color correcting, sharpening using multiple depths on various areas, cropping, and exporting.
I adjusted the profiles and chromatic aberration in Lightroom before exporting the image to Photoshop.
After removing blemishes and other imperfections, I utilized curves and masks to accentuate the metal and texture highlights.
I created a seamless backdrop with color, texture
using the frequency and separation approach.
I used hue/saturation to adjust the background in the initial step, then layers and masks with color ranges were used for the fringing.
The last steps were color correcting, sharpening using multiple depths on various areas, cropping, and exporting.
Skills used

The goal was to put jewelry on a pure white background and to make sure that it could be resized to match almost any aspect ratio.
I adjusted the white balance with gray cards, profiles and chromatic aberration in Lightroom before exporting the image to Photoshop.
After removing blemishes and other imperfections, I utilized curves and masks to accentuate the metal and texture highlights.
The last steps were color correcting, sharpening using multiple depths on various areas, cropping, and exporting.
Skills used

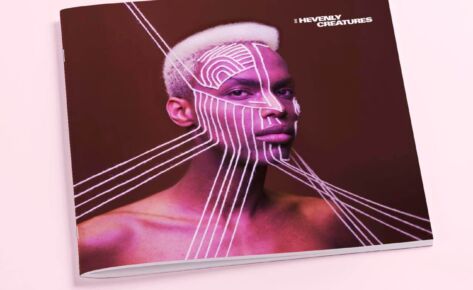
The goal was to morph a model into an elite outer space queen.
The goal was to put jewelry on a pure white background and to make sure that it could be resized to match almost any aspect ratio.
I adjusted the white balance with gray cards, profiles and chromatic aberration in Lightroom before exporting the image to Photoshop.
After removing blemishes and other imperfections, I
utilized curves and masks to accentuate the metal and texture highlights.
The last steps were color correcting, sharpening using multiple depths on various areas, cropping, and exporting.
The first steps were to remove the hair and reconstruct the skull and part of the ear.
Then I had to create the crown using the pen tool, blend the elements, color correct the piece, create custom design
race elements and, control and create light.
The last steps were to apply colors and textures, create the realistic multicolor glow, sharpen using multiple depths on various areas, cropping, and export.
Skills used
get in touch
Before & After


